
What is Mutt
[Mutt] is a small but very powerful text-based mail client for Unix operating systems.
In other words, Mutt is an email client which can be installed on a headless server. It provides great convenience for command line lovers.
The reason I used Mutt is because sometimes I run a particular task on my VPS, I want to know when the task will end. The task usually takes hours or even days to complete. I can't monitor the progress 24/7. I need someone to notify me that the task is accomplished. Mutt is the one I need. It can be deployed to send me an email when the task is done. mutt is not only used to launch Mutt program but also an independent command to send email. The syntax is quite simple
echo xxx|mutt -s "Email-Subject" -a attachment.txt -- [email protected]
xxx after echo is the message you want to write in the email. "Email-Subject" after -s hold the subject of that email. You can even include some attachment with this email after -a , and please do pay attention to the path of your attachment. The last part is the recipient's email address. Please do note that, the above command won't work until you have configured all the settings of Mutt.
Install Mutt
Very simple, noting more to write here.
apt-get install mutt
After you hit yes, the installation will automatically start. There is a big chance you will see the following notification, asking you to configure the email client.

Calm down, and don't panic. I know the pink color is a bit alarming. Let's choose no configuration first.
Configure Mutt
I chose GMX.com email for the demo. The first time I knew GMX email is when I opened [Calibre], an ebook management software, it asked me to set up email to my Kindle function. The email service it supports is GMX.com email. Frankly speaking, nothing fancy about this email service provider, the reason I used is because it supports attachment of size up to 50MB. It's suitable for sending ebooks or even comics to my Kindle.
Below is the command to create some directories for holding Mutt content:
# 600 means only you can read or edit this file
# as it contains classified information

mkdir .mutt
cd .mutt
mkdir -p ./cache/bodies
mkdir -p ./cache/headers
touch certificates muttrc
chmod 600 muttrc
Make all your configurations in muttrc file, below is mine:
# For smtp protocol, please only use smpt instead of smpts,
# Otherwise it can't send out emails

set imap_user = "[email protected]"
set imap_pass = "Your-Own-Password"
set ssl_starttls = yes
set smtp_url = "smtp://[email protected]@smtp.gmx.com:587"
set smtp_pass = "Your-Own-Password"
set from = "[email protected]"
set ssl_starttls = yes
set use_from = yes
set realname ="Root"
set folder = "imaps://imap.gmx.com:993"
set spoolfile = "+INBOX"
set postponed = "imaps://[email protected]/Drafts"
set header_cache ="~/.mutt/cache/headers"
set message_cachedir ="~/.mutt/cache/bodies"
set certificate_file ="~/.mutt/certificates"
set move = no
set imap_keepalive = 900
Now you are almost done with the configurations, only one more step from success.
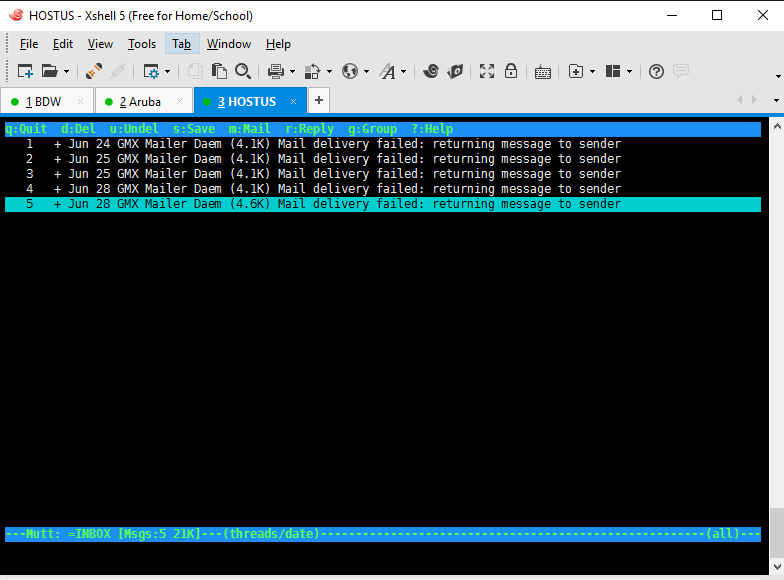
Run mutt command in the terminal, before it connects to the GMX email server and fetches your emails, the program will ask you to download a certificate. Just follow its instructions and select Always Trust the Certificate, most likely you will have an email client like mine.
Happy emailing and happy coding.
Update:
Sometimes the recipient will deny the email, maybe I abused the email system. The error message says:
The problem is that too many unwanted messages have been sent from th
e following IP address above.
So don't use this method to send out spam emails, it can be easily detected and blocked.
One more thing
There is another way to store your password in the .muttrc file -- using GPG key to encrypt it, then you can completely forget about the permission of .muttrc file.